Restoring Vintage Toy Cars: A Step-by-Step Guide
The thrill of collecting vintage toy cars extends beyond simply acquiring them. Many enthusiasts find immense satisfaction in bringing these miniature pieces of history back to a presentable condition. This isn’t about creating perfect replicas; it’s about careful preservation and gently addressing wear and tear to showcase their character and history. This guide will outline the fundamental steps in restoring vintage toy cars, prioritizing techniques that respect their age and original features. We're focusing on conservation, not radical modifications. Understanding the importance of each step is vital for success and avoiding irreversible damage.
Understanding the Scope of Restoration
Before you even touch a vintage toy car, it's crucial to assess its condition and determine the extent of restoration needed. Some cars may only require a gentle cleaning, while others might have paint loss, broken parts, or significant rust. Always research the specific model – production year, manufacturer, and original finishes – as this information will inform your approach. A 1950s Tonka truck will require a different restoration strategy than a 1930s Buddy L.
Consider these questions:
- What is the overall condition of the car?
- Is the paint original?
- Are there any broken or missing parts?
- Is there rust or corrosion?
- What is the car's value? (More valuable cars warrant a more cautious approach, potentially even professional restoration.)
Disclaimer: Drastic modifications, like completely stripping and repainting a car in a non-original color, diminish its value and historical accuracy. This guide prioritizes methods that preserve the car's original character.
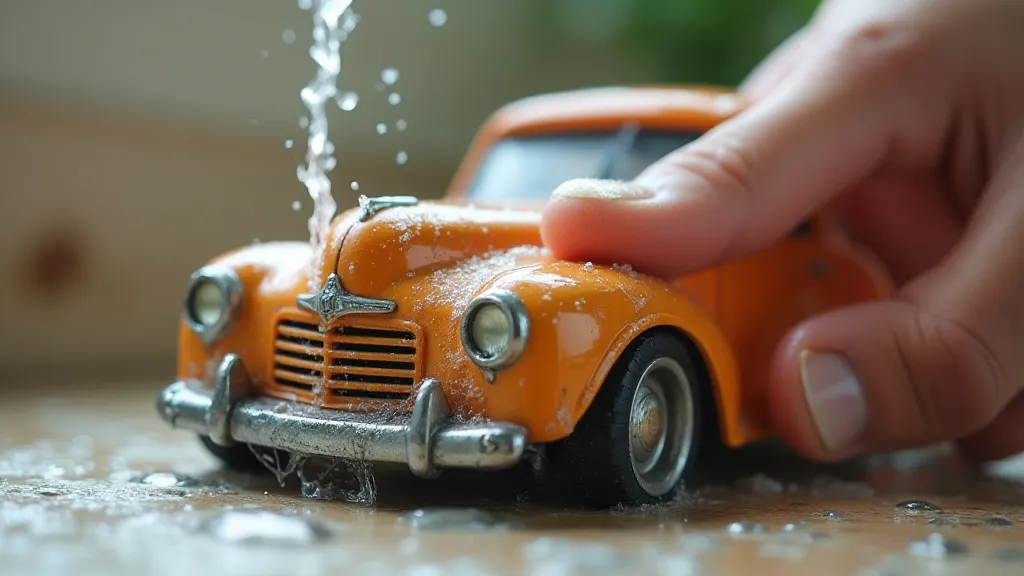
Step 1: Gentle Cleaning – The Foundation of Restoration
Cleaning is the most critical and often overlooked step. Dirt, grime, and old wax can obscure the car’s true condition and make it difficult to assess further damage. Avoid harsh chemicals or abrasive cleaners, as these can damage the paint and decals.
Recommended Cleaning Supplies:
- Warm water
- Mild dish soap (Dawn is a good choice)
- Soft-bristled brush (toothbrush or detail brush)
- Cotton swabs
- Microfiber cloths
- Deionized water (for final rinse – prevents water spots)
Cleaning Process:
- Mix warm water and a small amount of dish soap.
- Gently scrub the car with the soft-bristled brush, paying attention to crevices and wheel wells.
- Rinse thoroughly with warm water.
- Rinse again with deionized water.
- Dry the car with a clean microfiber cloth.
For stubborn grime, you can try a diluted solution of baking soda and water. Always test this in an inconspicuous area first.
Step 2: Addressing Rust and Corrosion
Rust is a common enemy of vintage toy cars, particularly those made of metal. While complete rust removal can be challenging and potentially damaging, surface rust can often be treated. For deep-seated rust, professional help might be the best option.
Rust Removal Techniques (for surface rust only):
- White Vinegar Soak: Soak the affected area in white vinegar for a few hours. This helps to loosen the rust.
- Baking Soda Paste: Mix baking soda with water to form a paste. Apply the paste to the rust and gently scrub with a soft brush.
- Commercial Rust Removers: Use commercially available rust removers, following the manufacturer's instructions carefully. Choose products specifically designed for delicate surfaces.
Important: After removing rust, apply a thin layer of wax or a rust-inhibiting coating to prevent further corrosion.
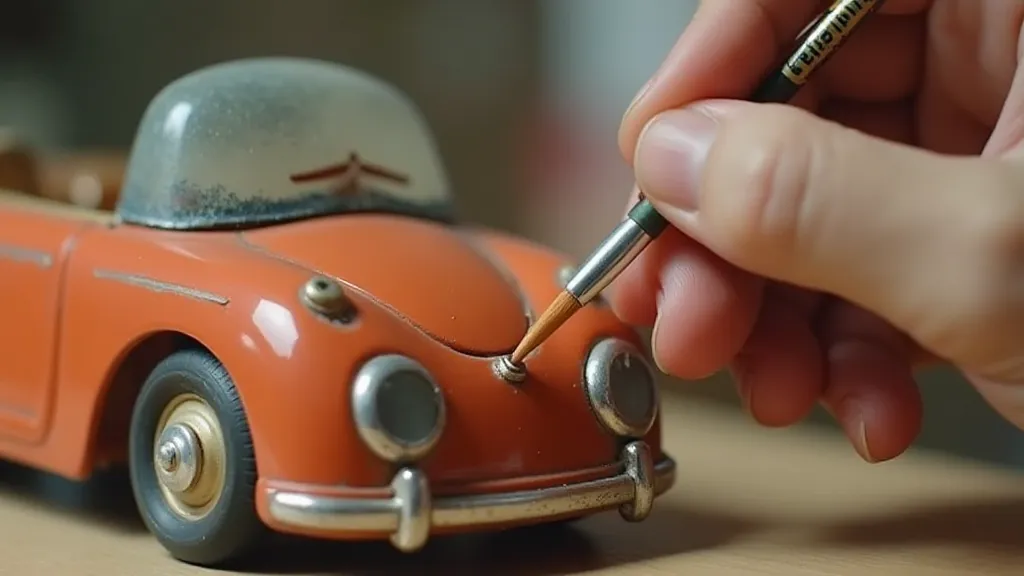
Step 3: Repairing Minor Paint Loss
Small chips or scratches in the original paint can detract from the car's appearance. While a full repaint should be avoided, minor touch-ups can be performed to improve the overall look.
Touch-Up Paint Considerations:
- Color Matching: Finding an exact color match for vintage paint can be difficult. Try to find a paint that is as close as possible to the original. Old paint codes can sometimes be found online for popular models.
- Paint Type: Use a paint type that is compatible with the original finish. Lacquer and enamel paints are common for vintage toy cars.
- Application: Apply the touch-up paint in thin, even coats, using a fine-tipped brush.
Alternative: Sometimes, carefully applied wax can help to camouflage small paint imperfections.
Step 4: Replacing or Repairing Broken Parts
Broken axles, wheels, or other parts are a common issue with vintage toy cars. Whenever possible, attempt to repair the original parts. If repair is impossible, seek out replacement parts.
Repair Techniques:
- Glue: Use a strong adhesive specifically designed for plastics or metals.
- Soldering: For metal parts, soldering can be used to reattach broken pieces.
- Pinning: Small pieces can be reinforced with pins.
Replacement Parts: Online auctions and forums dedicated to vintage toy cars are excellent resources for finding replacement parts. Be sure to verify the authenticity and compatibility of replacement parts before purchasing.
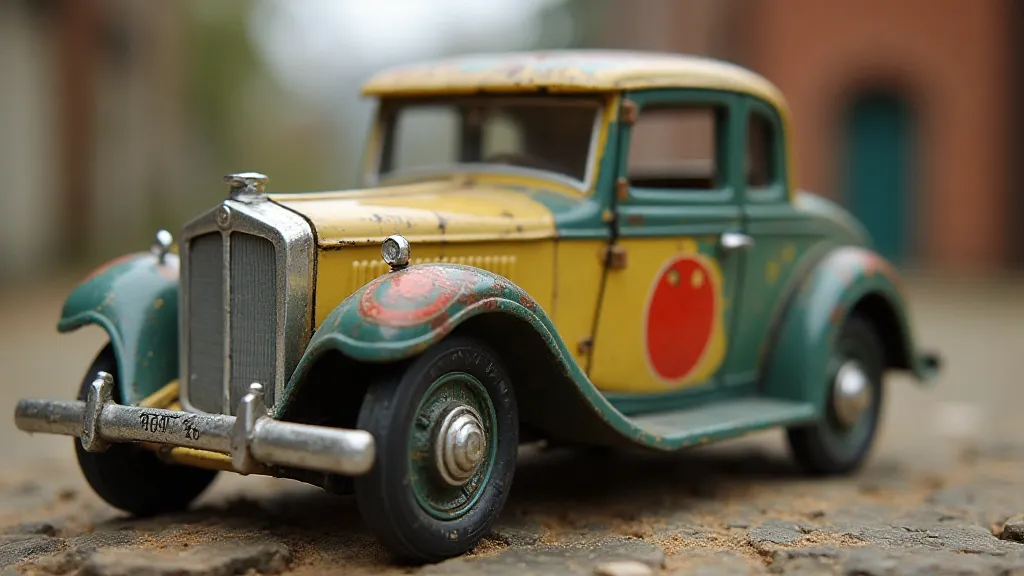
Step 5: Preserving Decals and Markings
Original decals and markings add authenticity and value to vintage toy cars. Handle them with extreme care and avoid any cleaning methods that could damage them.
Decal Preservation Tips:
- Avoid scrubbing or wiping decals.
- If a decal is peeling, carefully secure it with a thin layer of clear lacquer.
- Avoid exposure to direct sunlight and extreme temperatures, as these can cause decals to fade or crack.
Final Thoughts and Ongoing Care
Restoring vintage toy cars is a delicate process that requires patience, care, and respect for the car's history. The goal is not to create a pristine, flawless replica, but to gently preserve its original character and value. By following these steps and using appropriate materials, you can enjoy your vintage toy cars for years to come.
Ongoing Care: Store your restored vintage toy cars in a clean, dry environment, away from direct sunlight and extreme temperatures. Regular dusting with a soft cloth will help to keep them in good condition.